

How To Clean A Comfort Zone Fan
How to Clean a Fan (With Step By Step Photos)
Oscillating fans are dust and dirt magnets. If you don't periodically clean your fan — and if you're not using an air purifier — you will be breathing in those allergens clinging to its blades and grill. Accumulated dust and dirt will also gradually harm the fan's motor and performance. Despite what you might read elsewhere, cleaning a fan is easy, and we show you how to do it.
Some oscillating fans might be too old and neglected to attempt cleaning them. If that's the case, consider buying a new fan; we've reviewed the best fans on the market. We also recommend tower fans, including the new Dyson TP01, for a different kind of cooling experience that uses bladeless-fan technology.
How to clean a fan
If your fan is relatively clean, you could use a damp towel to wipe the grates and fan blades, and let it dry before use. But if it's really caked with dust, you'll want to dismantle it and give it a thorough soapy wash, which we'll show you how to below.
Before you begin cleaning your fan, make sure that it is powered off and unplugged. Don't try to clean the fan in the living room or a bedroom, since dust and debris could scatter when you're taking the fan apart. It's better to clean the fan outdoors or in the garage or kitchen.

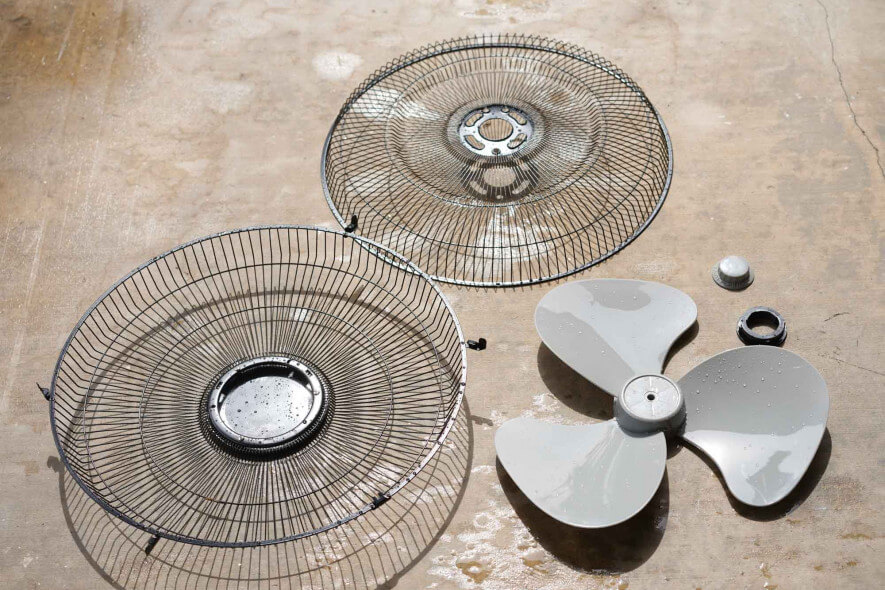
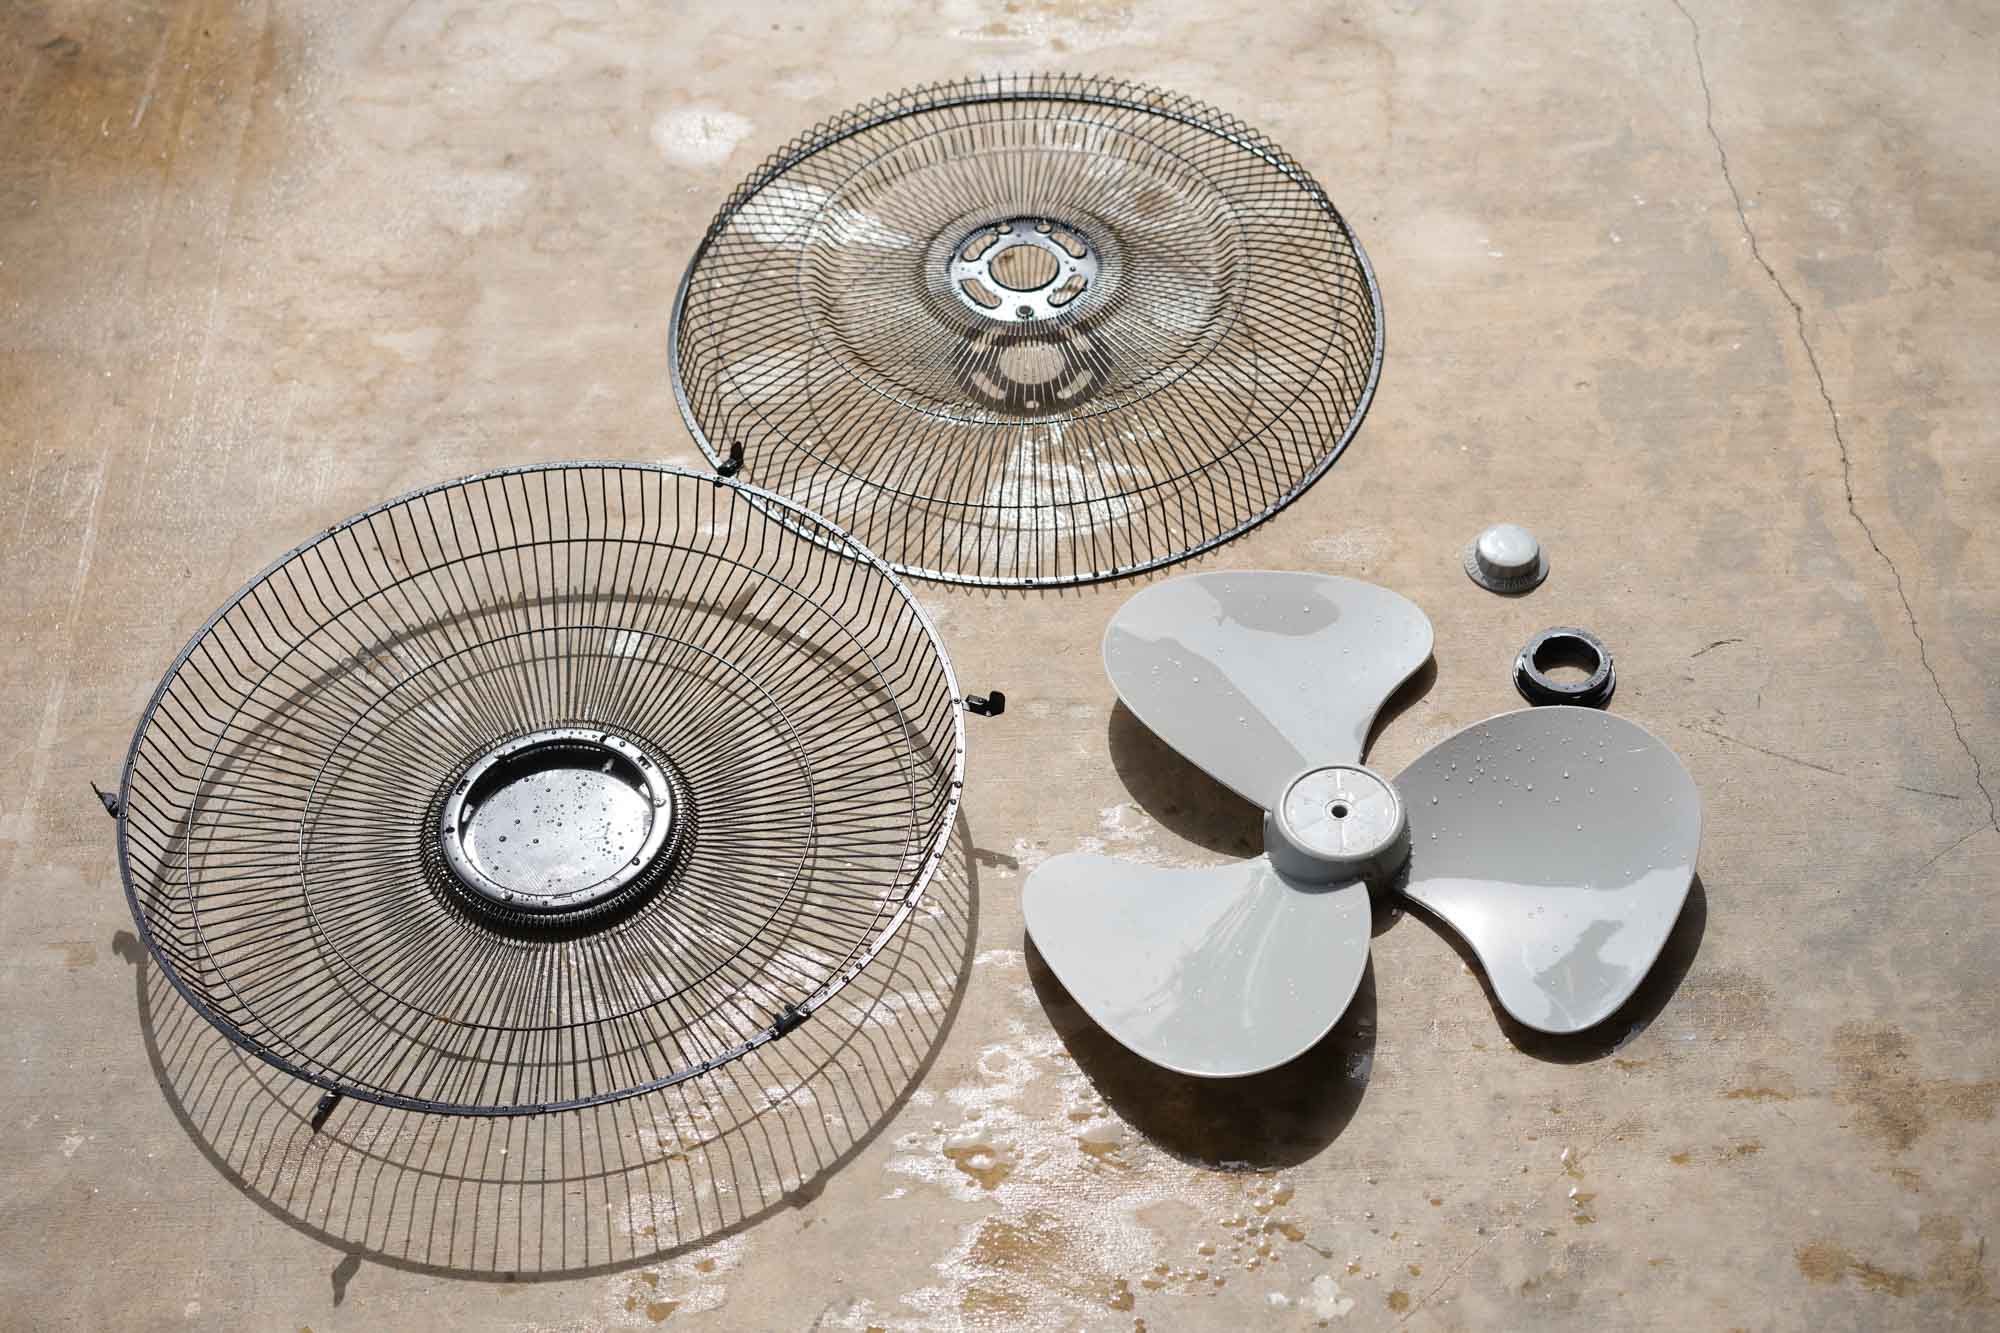
- Remove the fan's grill. The front half of the grill is held to the rear half by four clips or screws. If your fan has screws, use a Phillips head screwdriver to unscrew them. The fan in the following photos has four clips on the front grill that attach to the rear grill. Unlatch each clip, and remove the front grill.
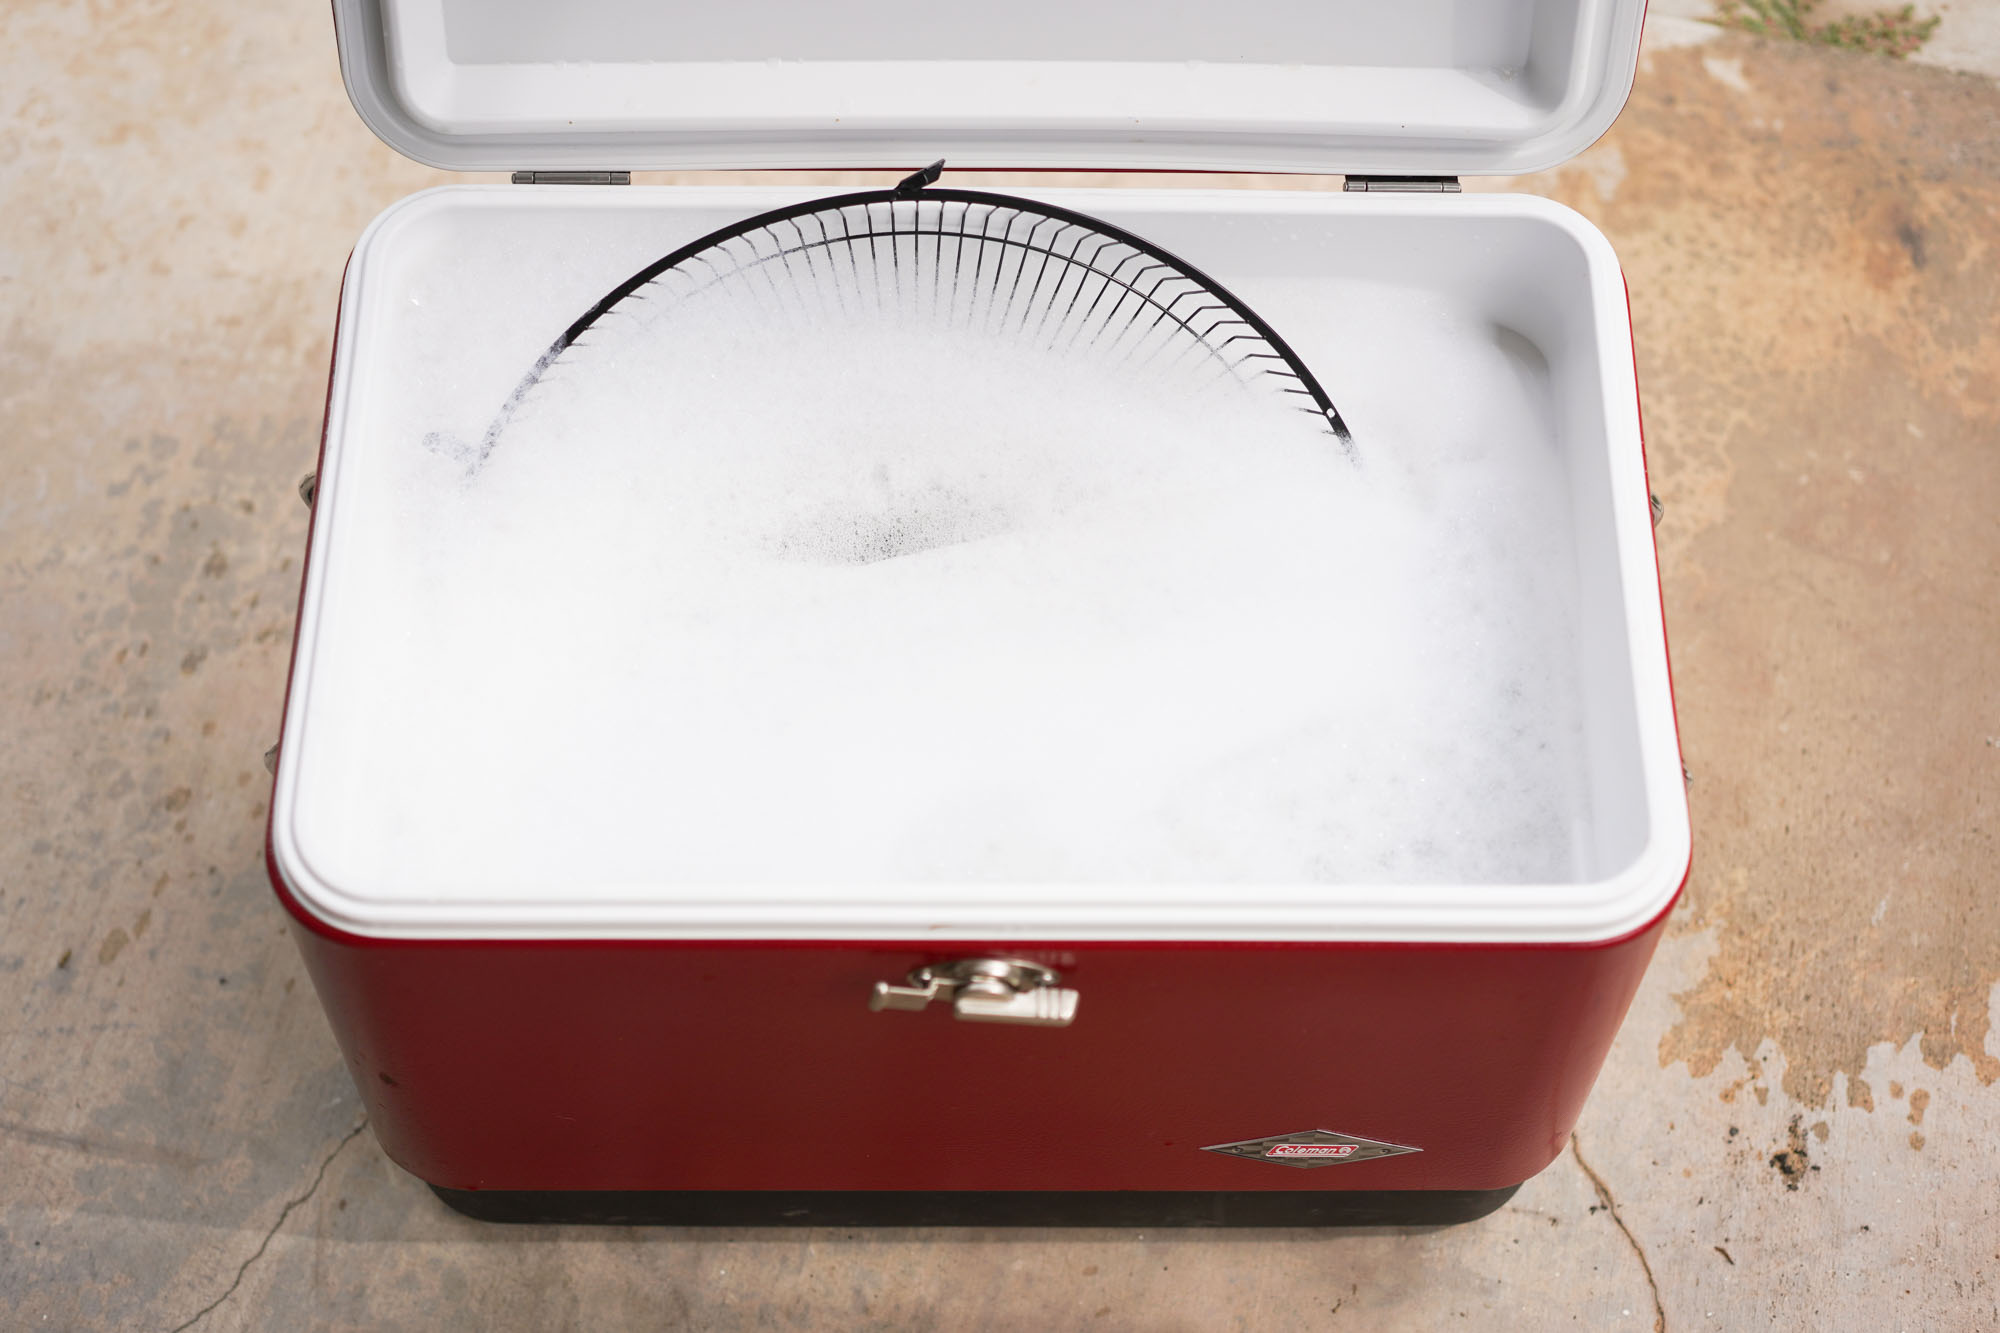
- Fill a sink with warm, soapy water. Dishwashing liquid works fine. If you're doing this outside, you can use a large tub or a cooler, and make sure to use biodegradable soap if you're dumping this onto your yard or drains.
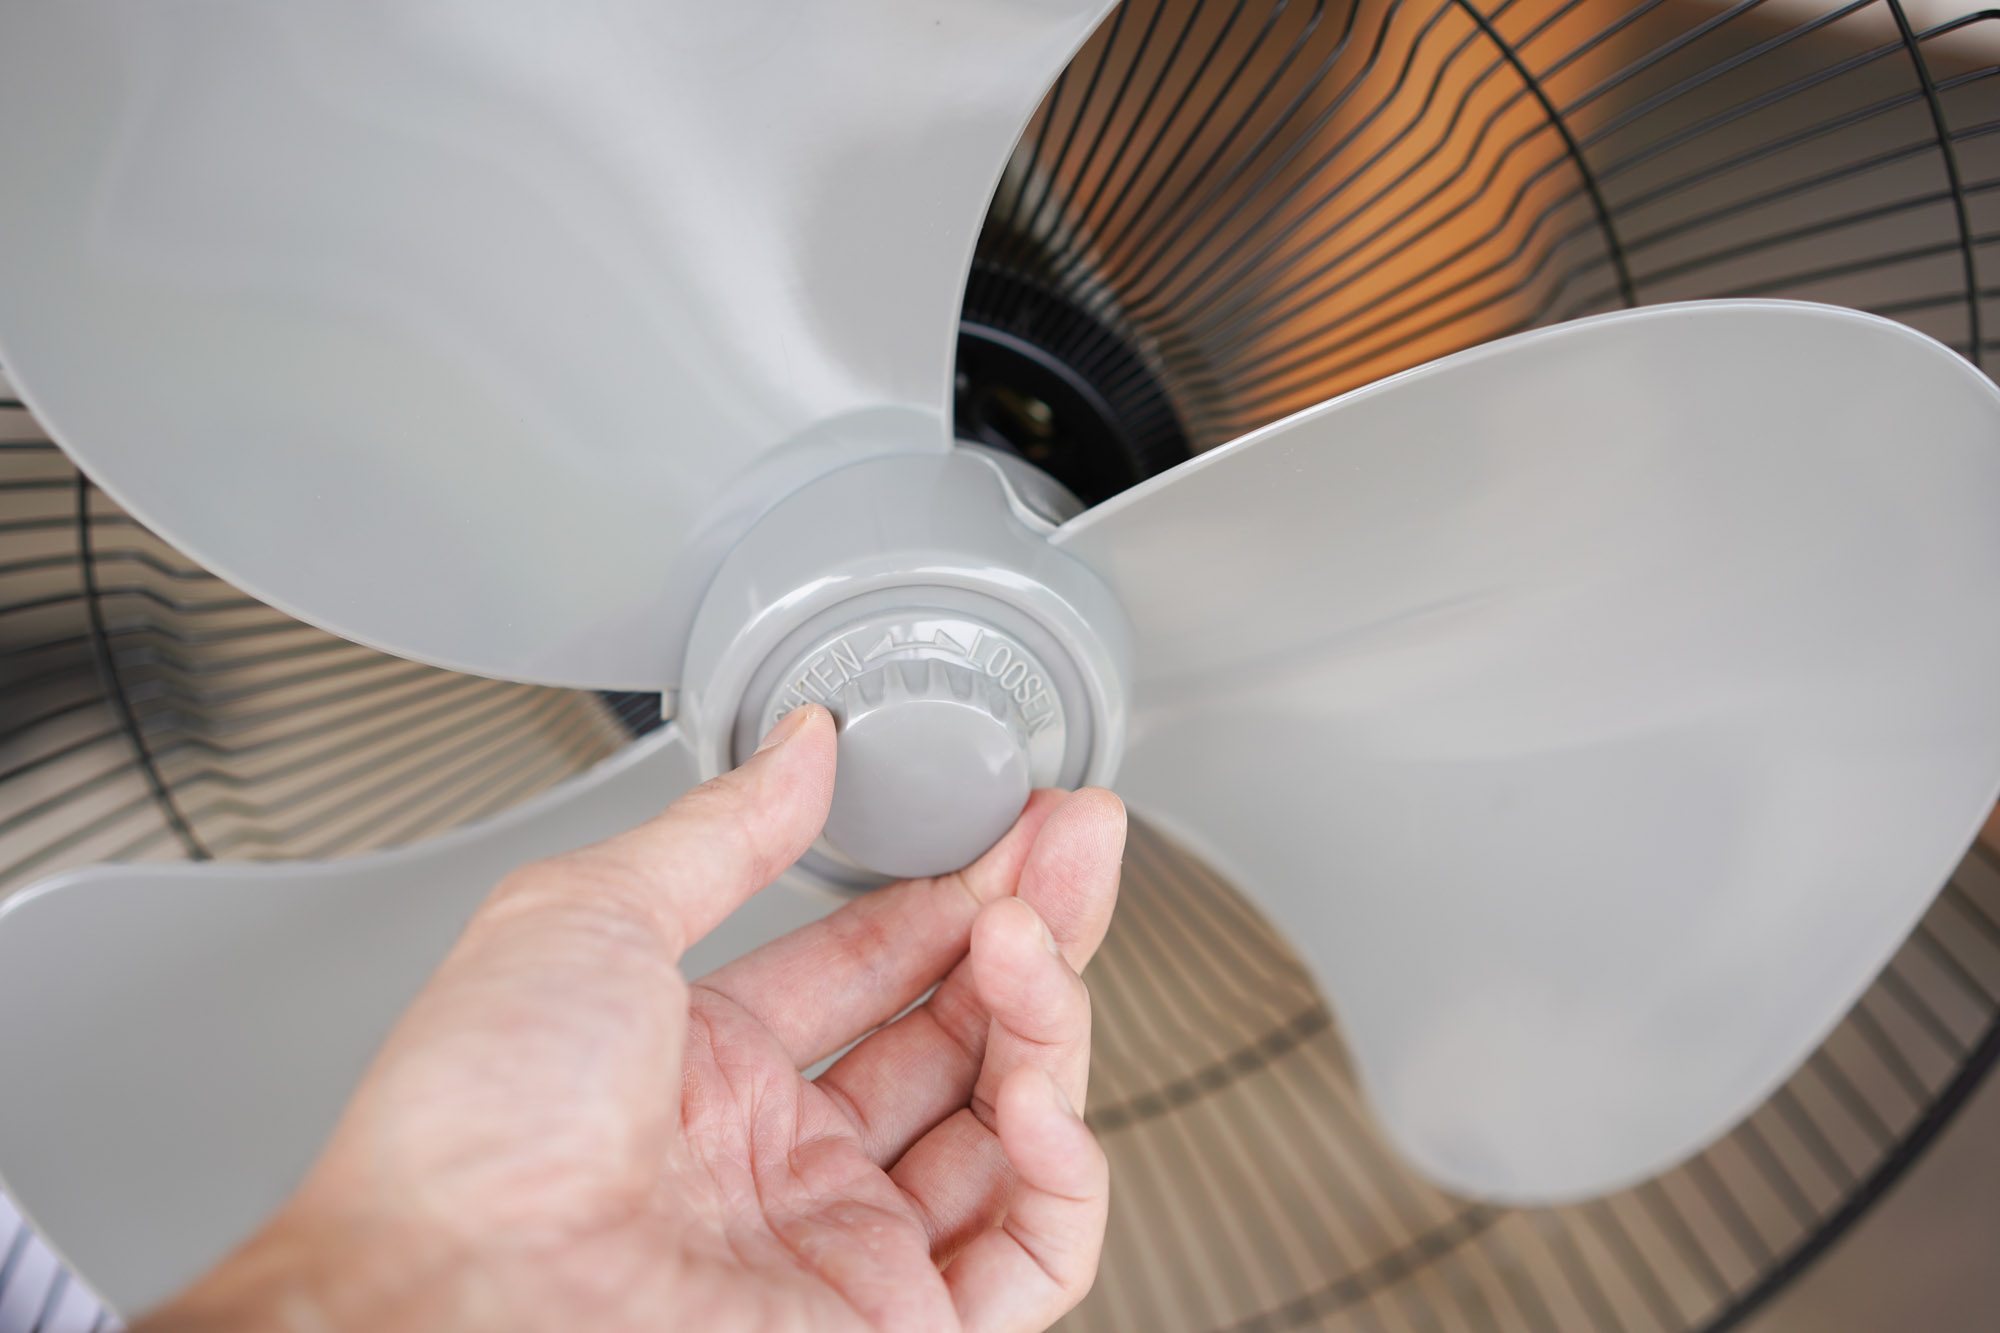
- Unscrew the blade nut. Usually, it's a reverse nut, so to loosen, hold the blade and turn the nut clockwise.
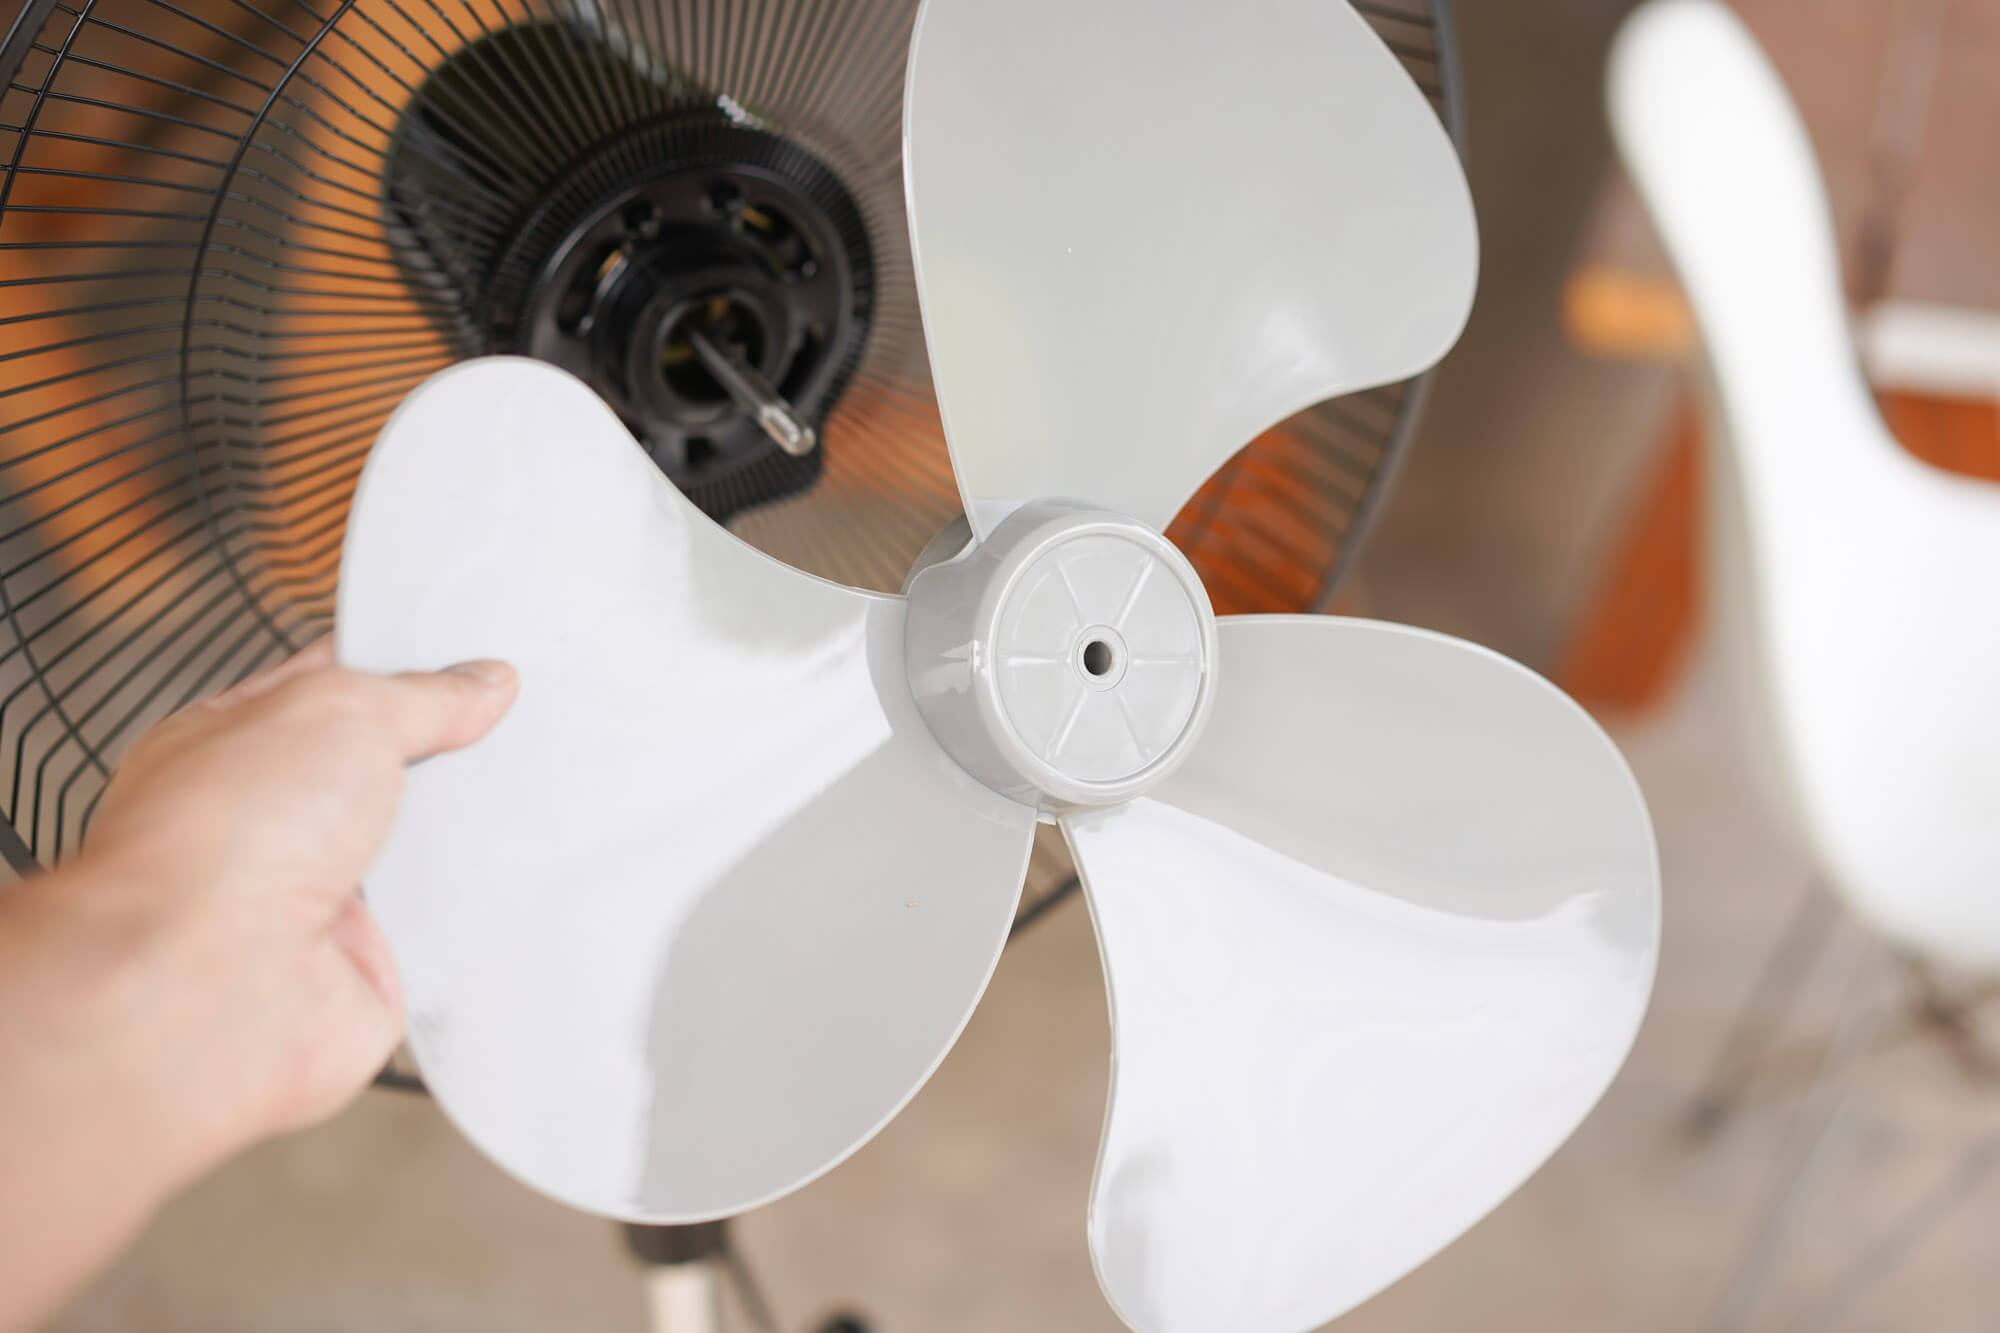
- Pull the fan blade off, and put it into the soapy water.
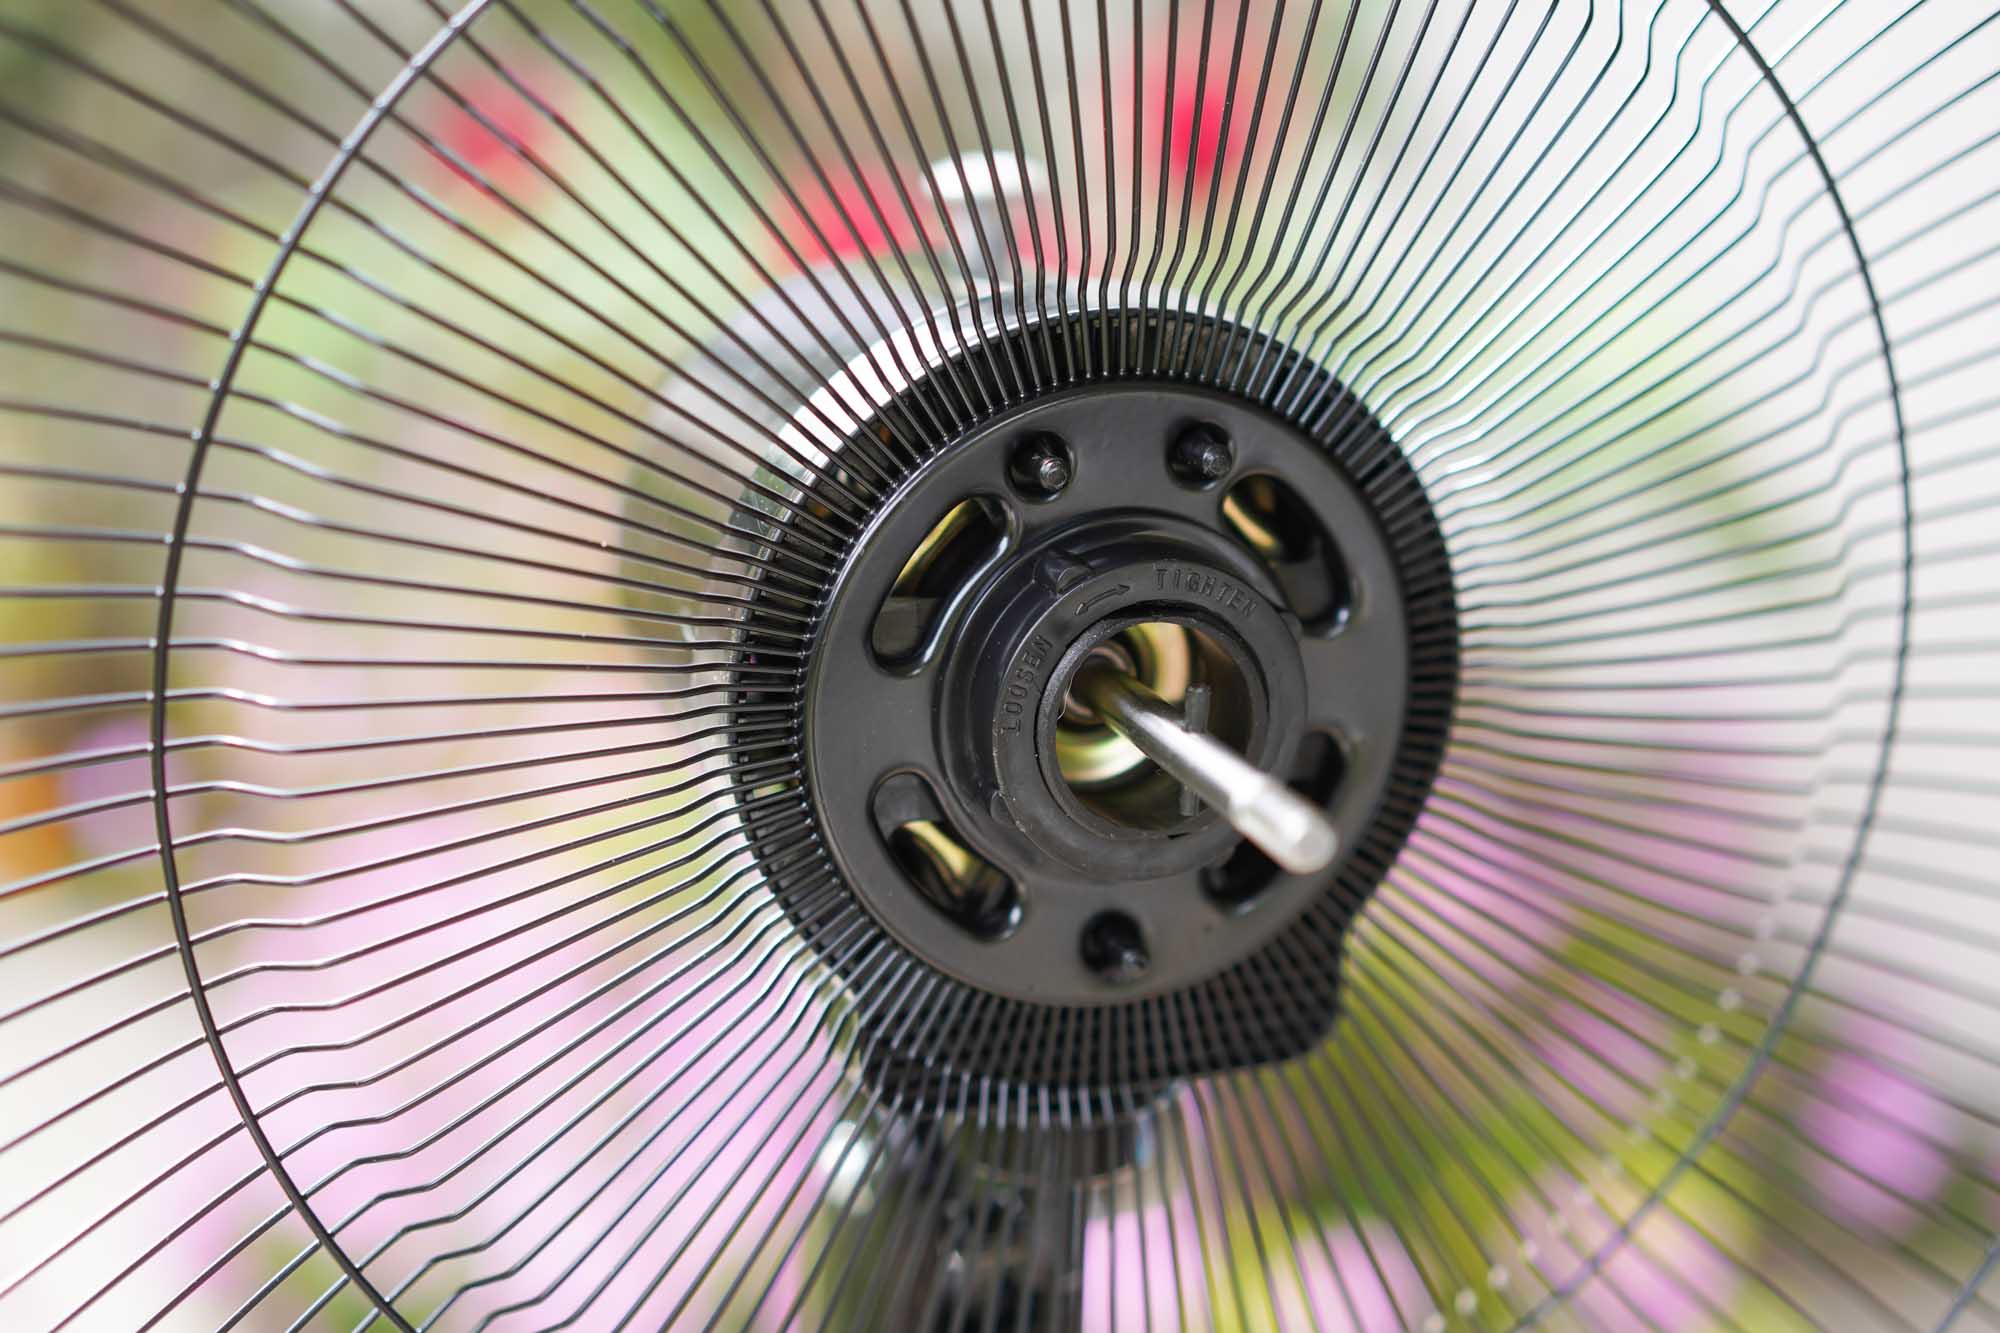
- Loosen the nut that holds the rear grill to the motor stem. It's a regular nut and will unscrew counter-clockwise. Put the nut into the soapy water.
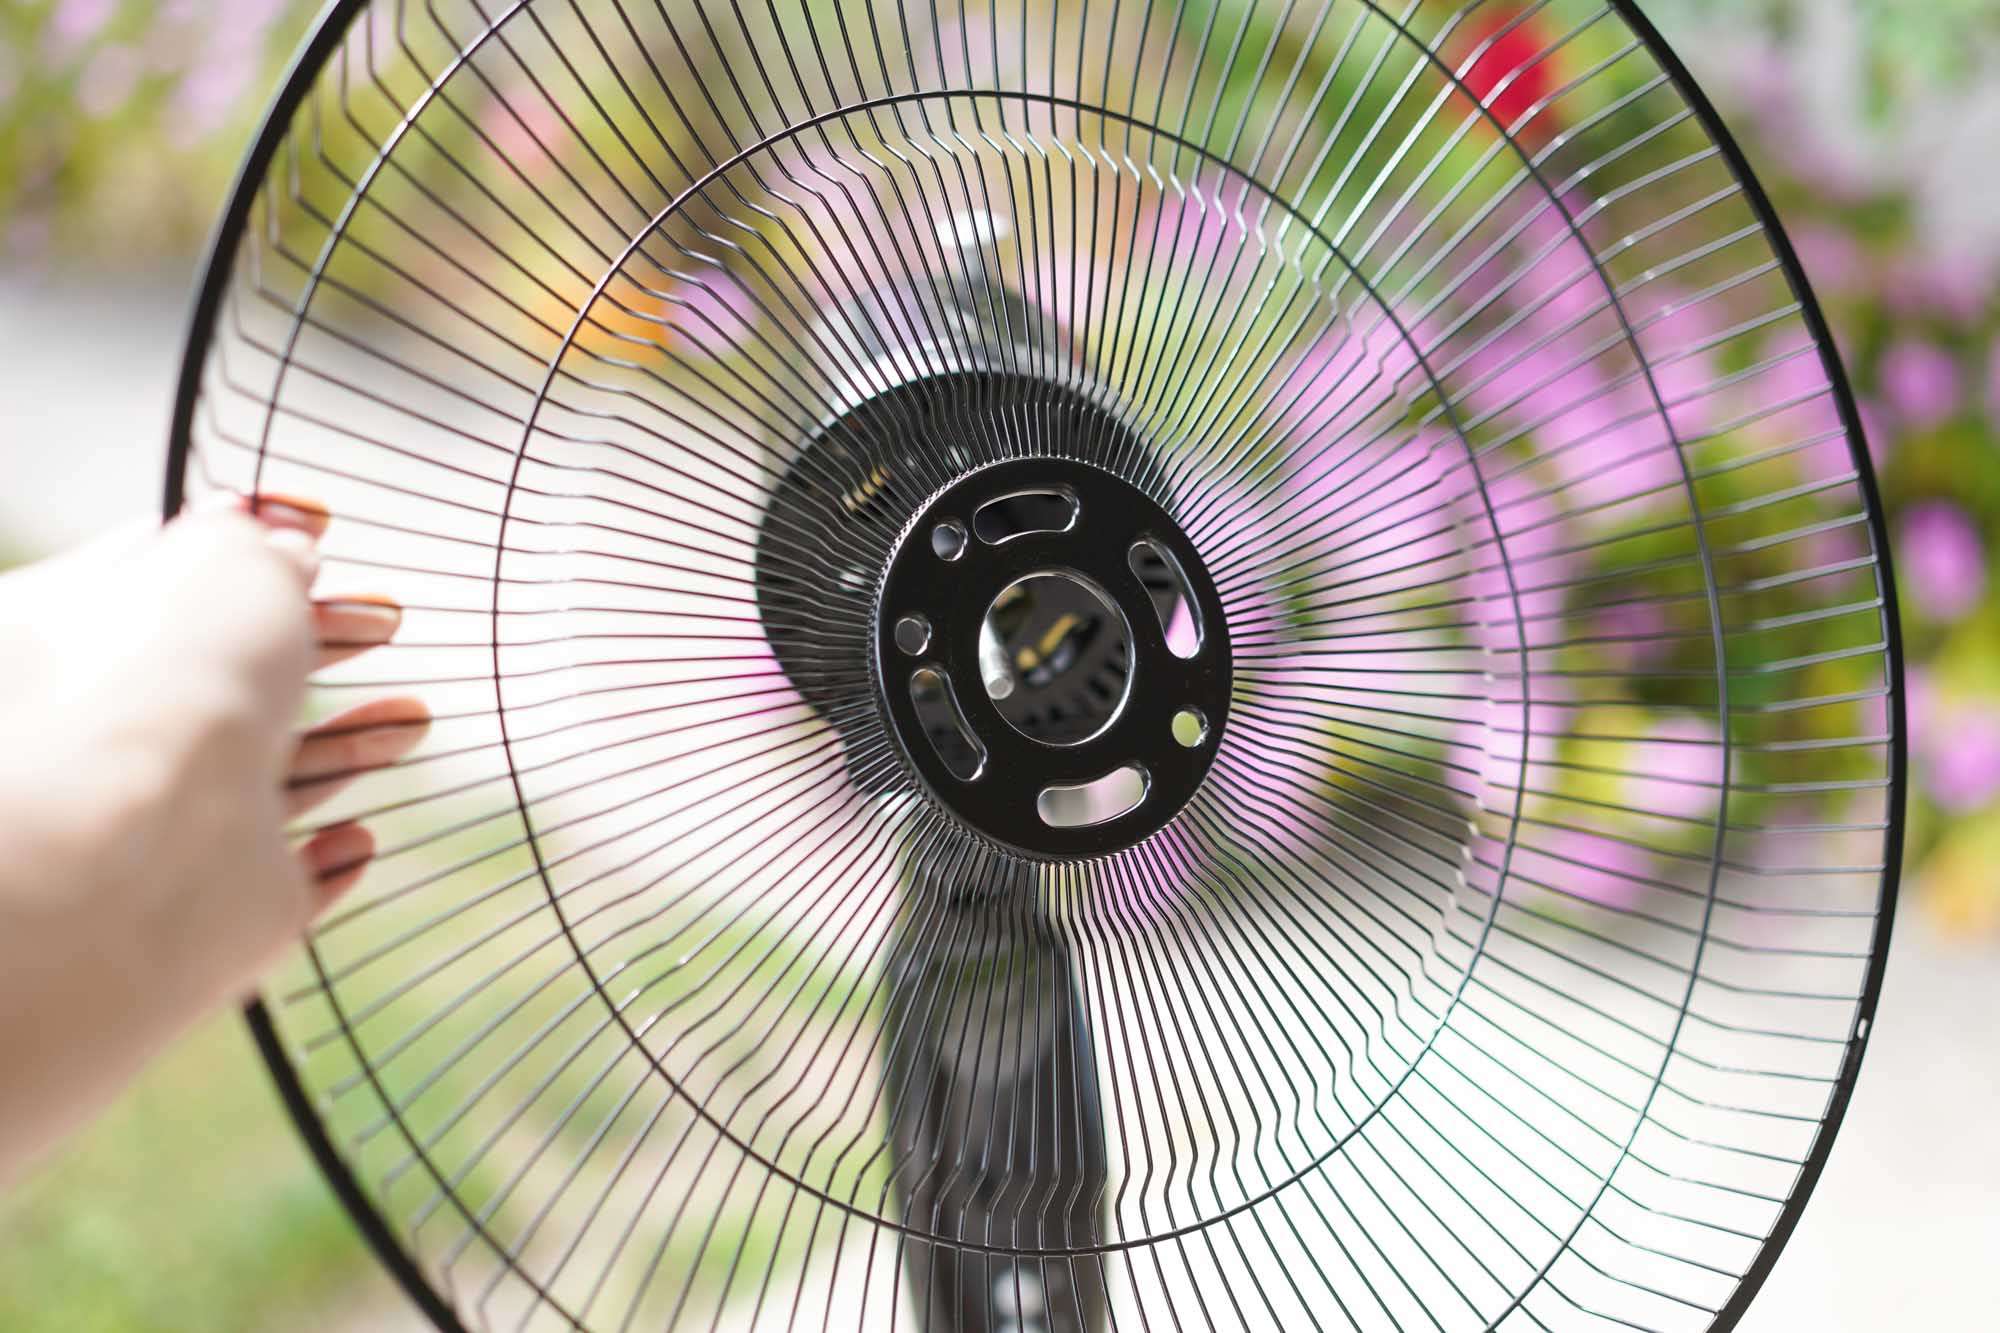
- Remove the rear grill. You'll be washing this too.
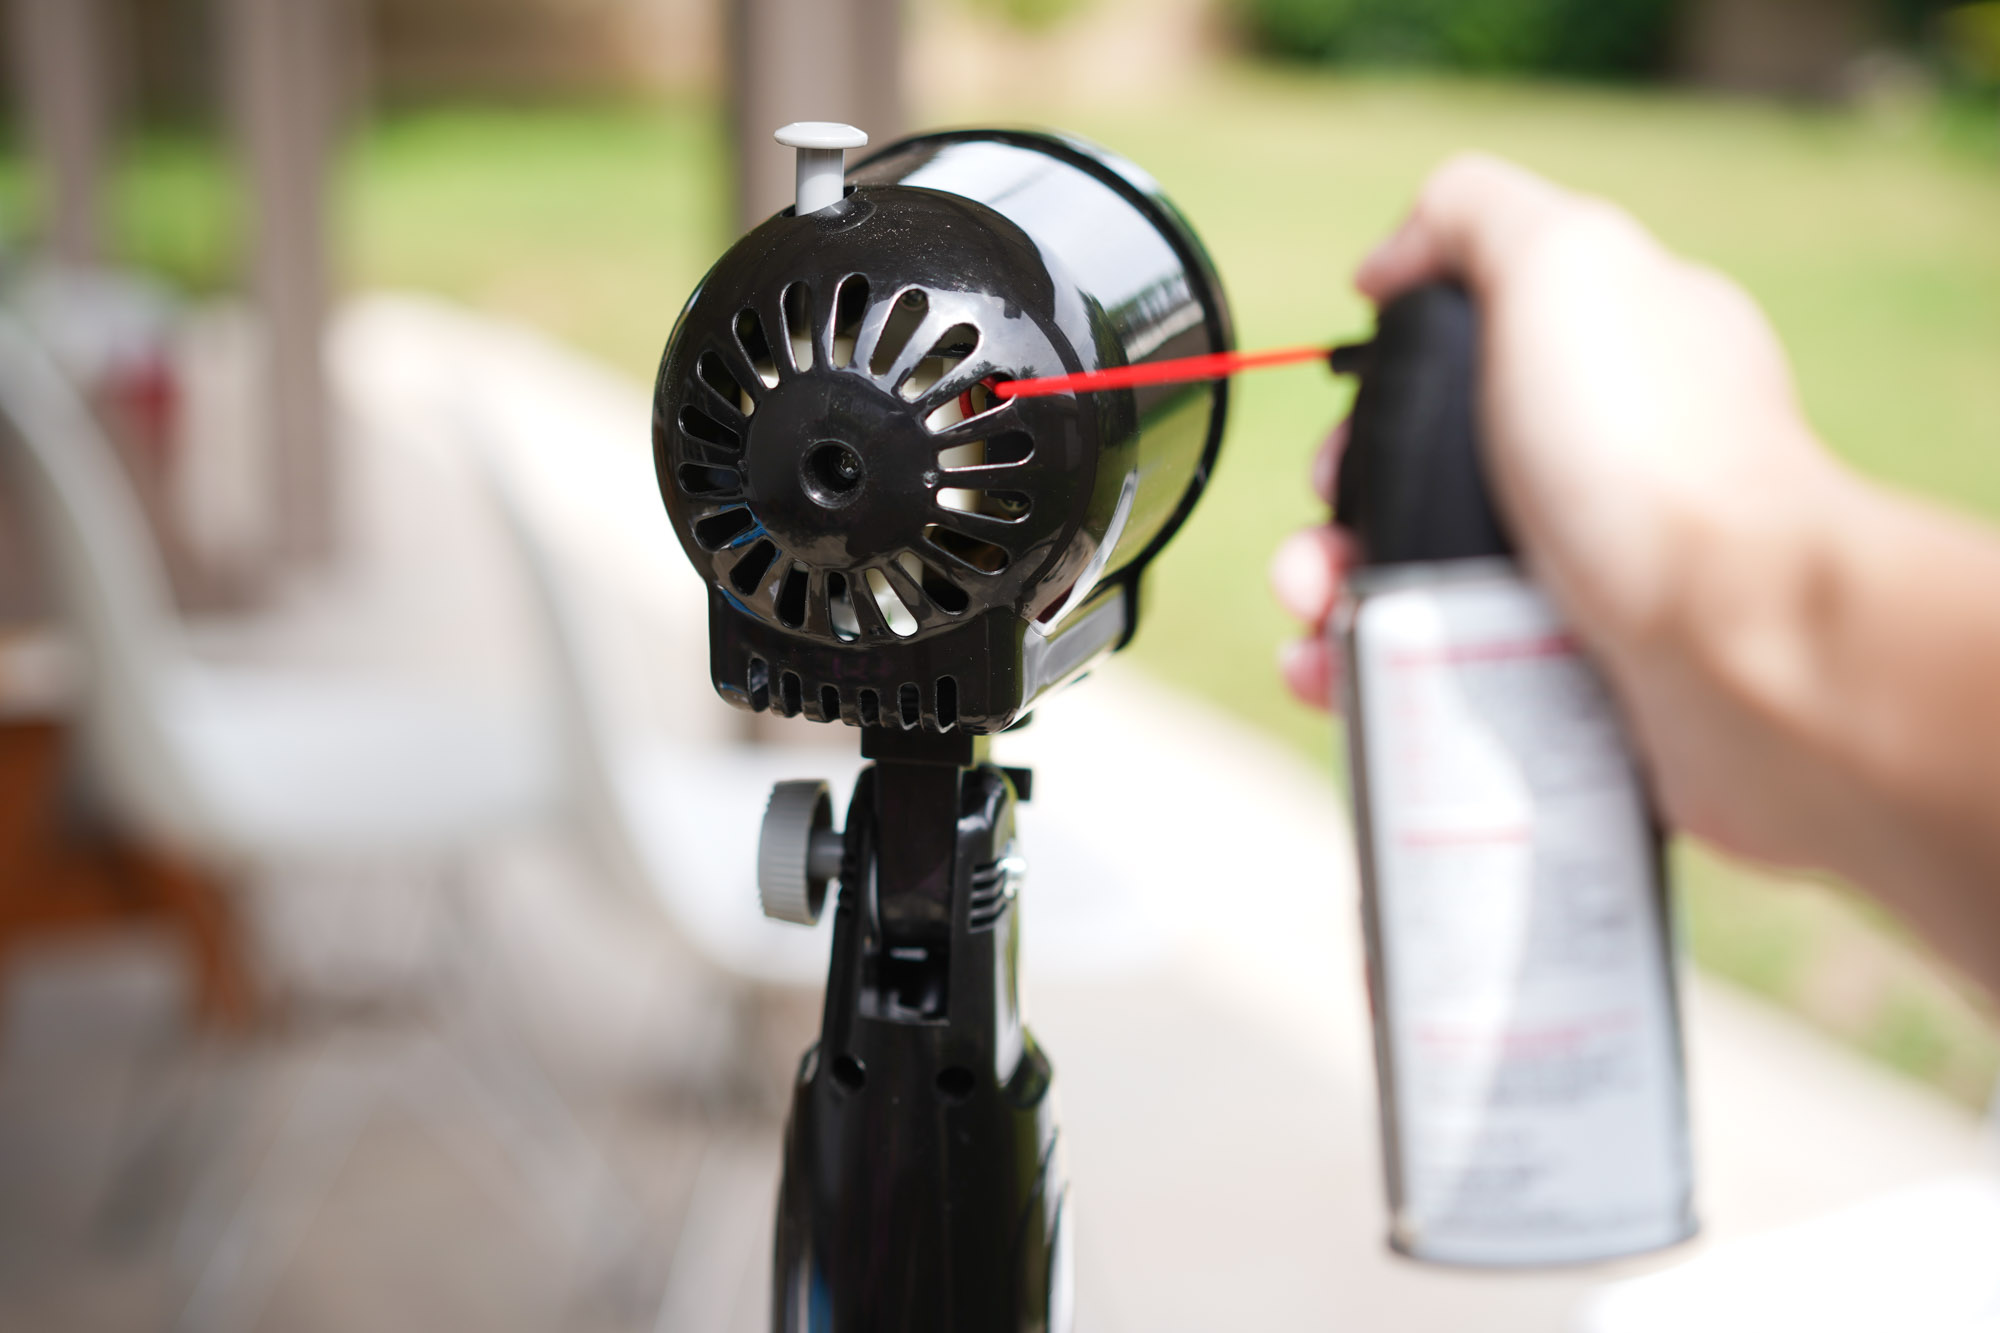
- Check the front of the motor for any dust. Use a can of compressed air to spray it off. Also check the rear of the motor, and spray a few quick bursts of air to clear any dust or dirt.
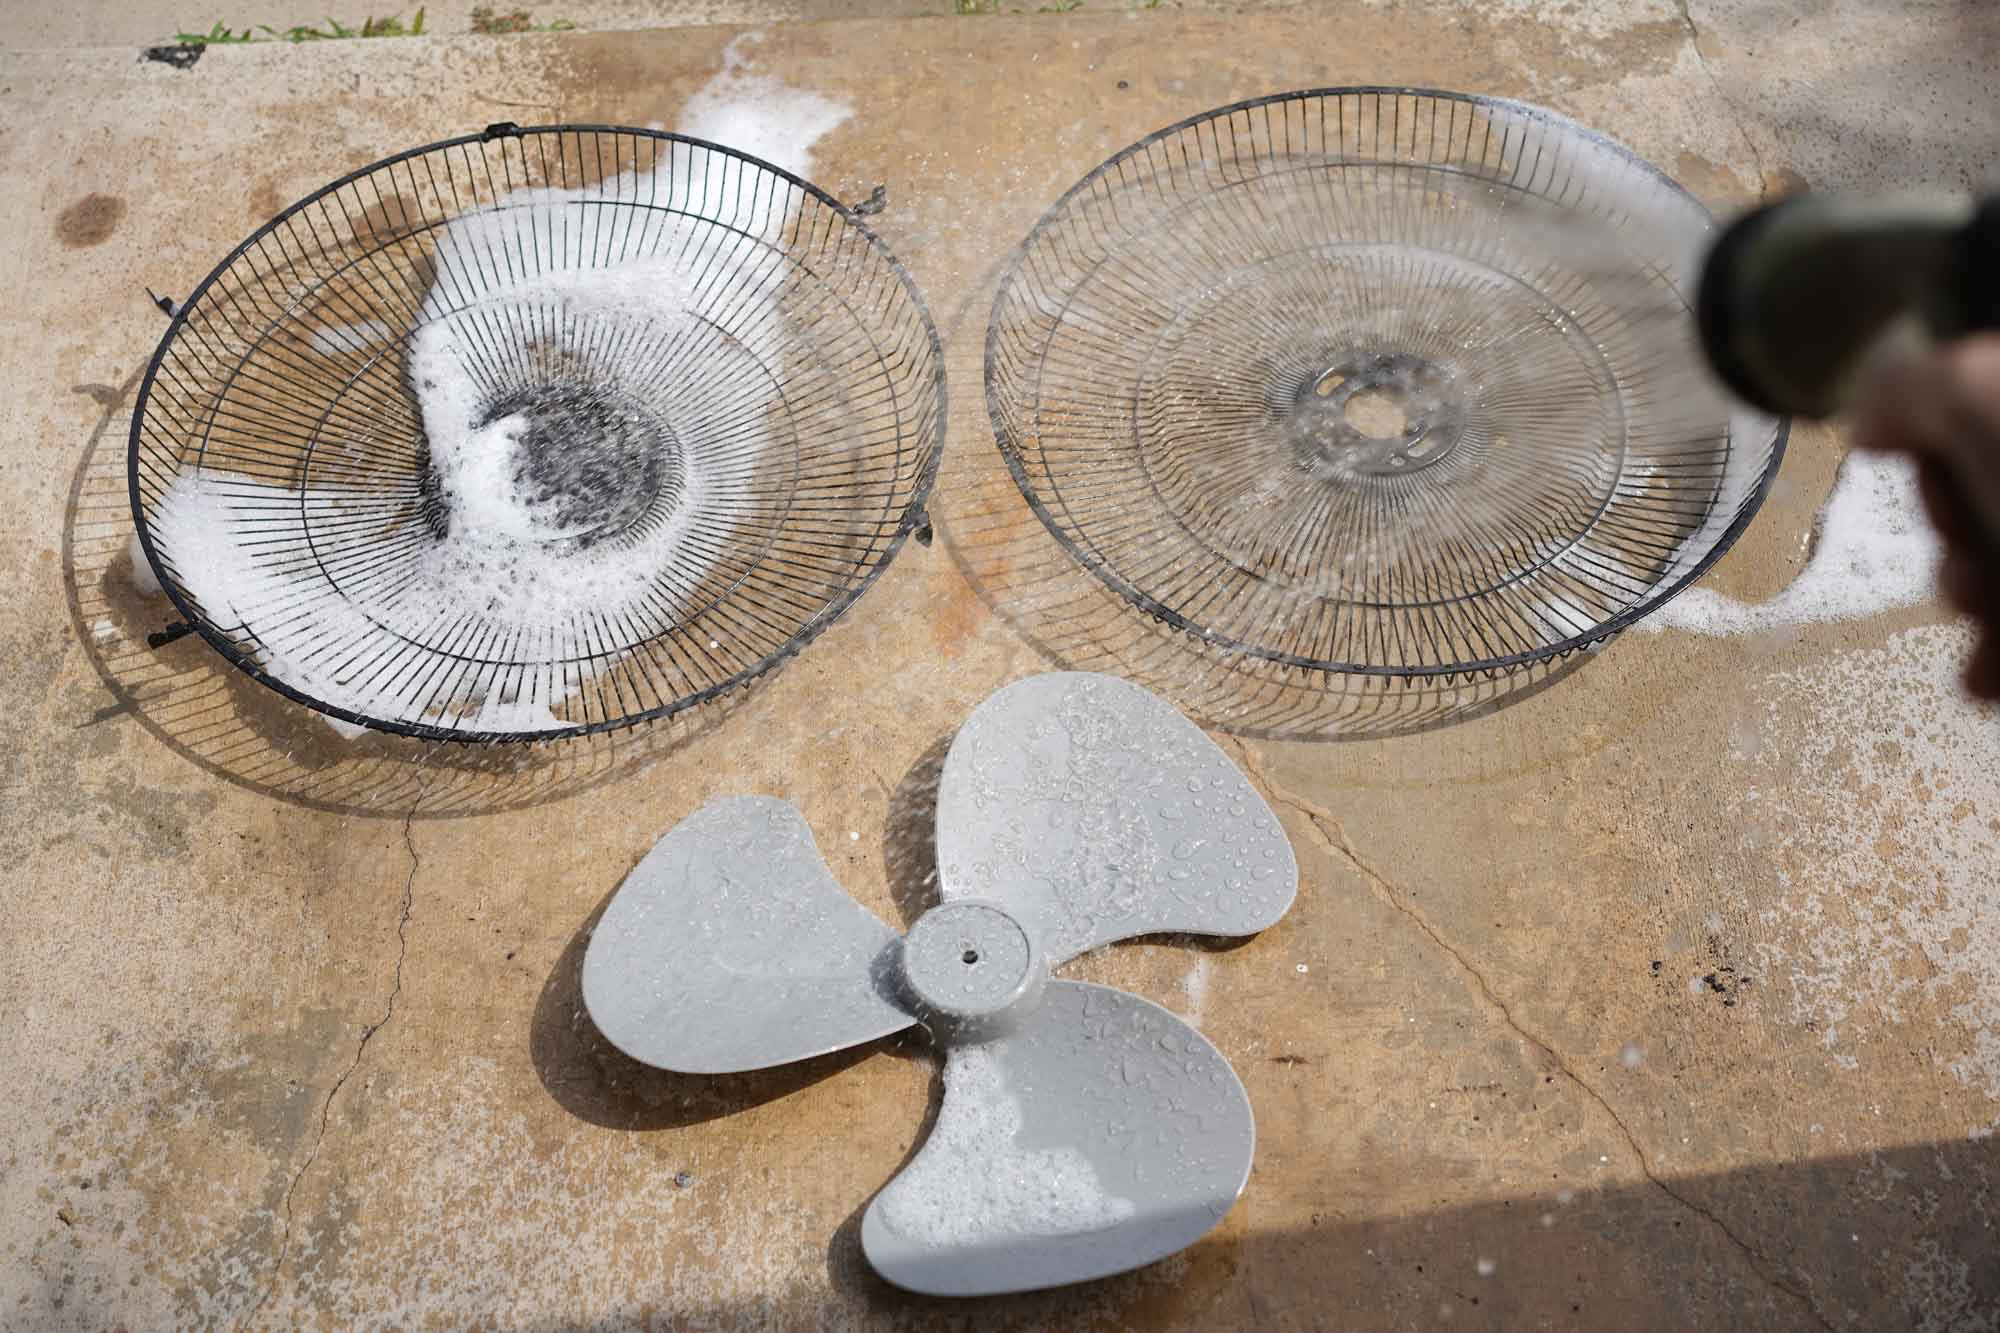
- Wash the front and rear grills, fan blade and the two connecting nuts in soapy water. (Alternatively, if you're washing the fan outside on a lawn or driveway, use a hose with a spray nozzle.)
- Dry everything completely.
- Reassemble in this order: rear grill, rear grill nut (tighten clockwise), fan blade, fan blade nut (tighten counter-clockwise), front grill. Hold the two grill halves together as you latch the grill clips.
- Wait 15 minutes before plugging the fan in to make sure that all the parts you washed are dry.

Gene Gerrard, Writer
Gene has written about a wide variety of topics for too many years to count. He's been a professional chef, cooking-appliance demonstrator, playwright, director, editor of accountancy and bank-rating books, Houdini expert and dog lover (still is). When he's not writing for Your Best Digs, he's performing as a magician at the Magic Castle in Hollywood.
Related Reads
How To Clean A Comfort Zone Fan
Source: https://www.yourbestdigs.com/reviews/how-to-clean-a-fan/
Posted by: gentryshom1981.blogspot.com
0 Response to "How To Clean A Comfort Zone Fan"
Post a Comment